As winter transitions to spring each year, environmental changes like warmer temperatures, longer and more intense sunlight, and the shift from snow to rain lead to a shift in the types of mountain hazards seen during the springtime.
Though the threat of avalanches begins to drop off in the spring, these mountain hazards are proven to be just as dangerous and have contributed to hundreds of accidents and near-misses over the years. Having the ability to identify, plan for, and avoid these hazards can greatly reduce your risk when traveling in the mountains.
Icefall and Rockfall
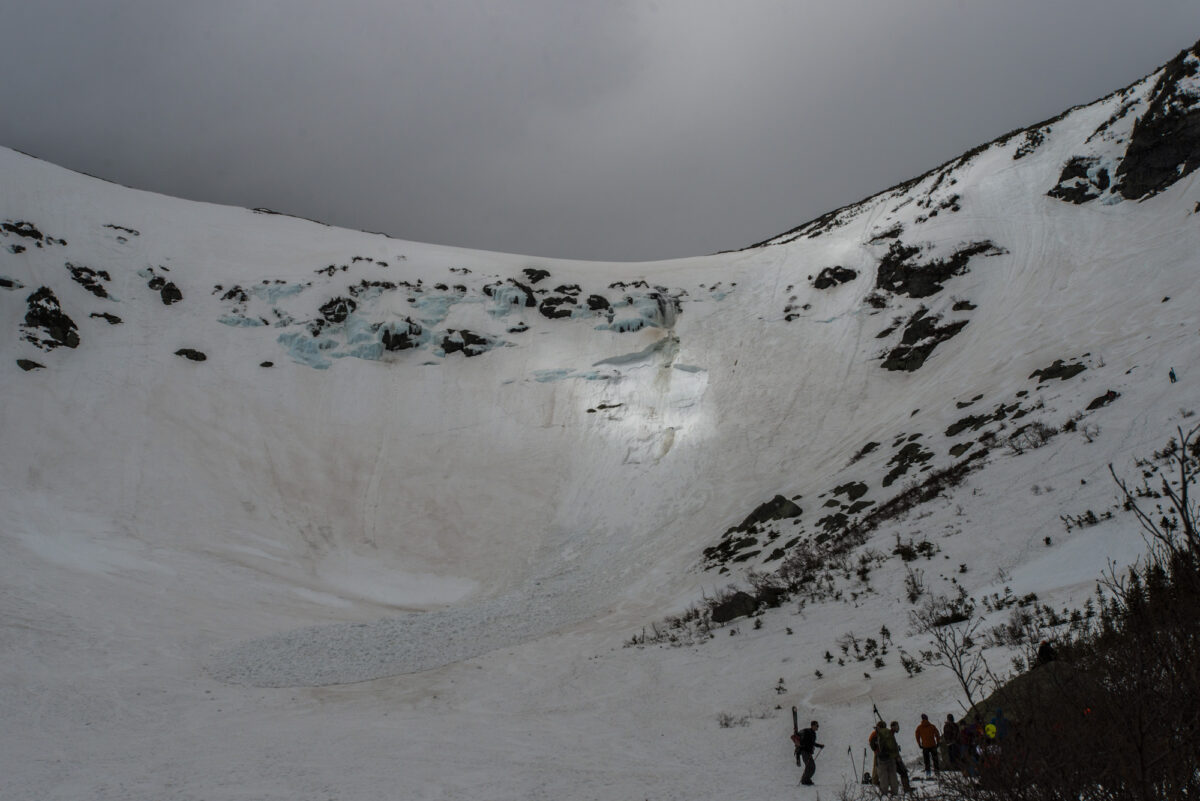
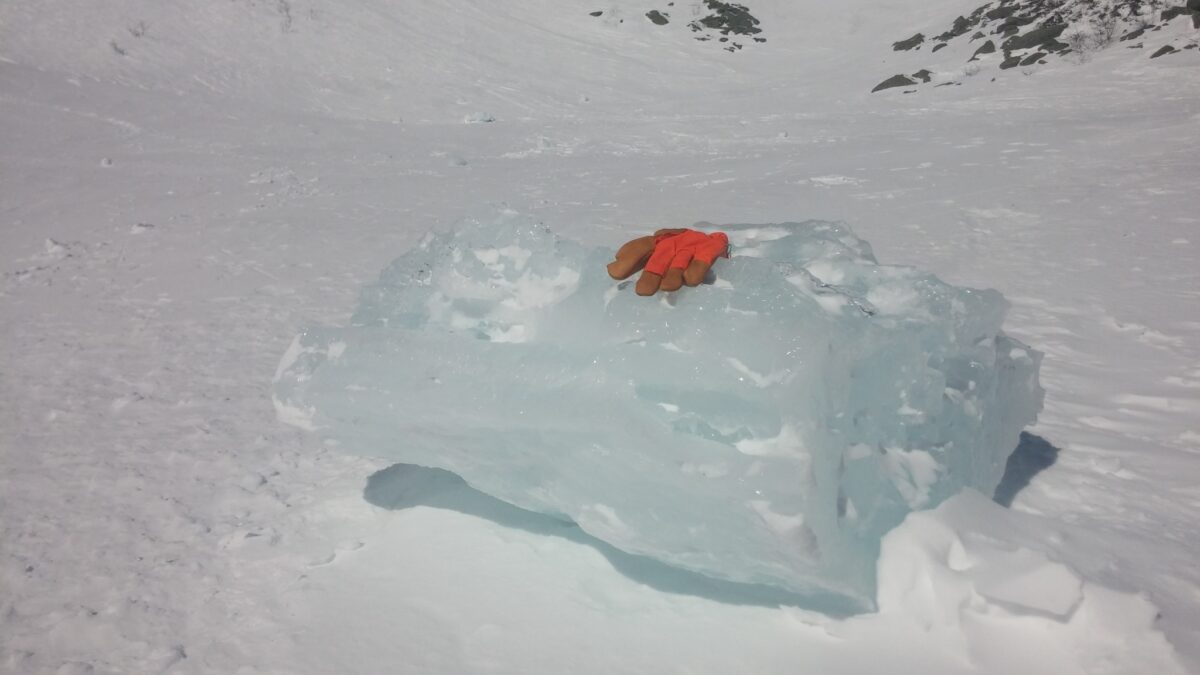
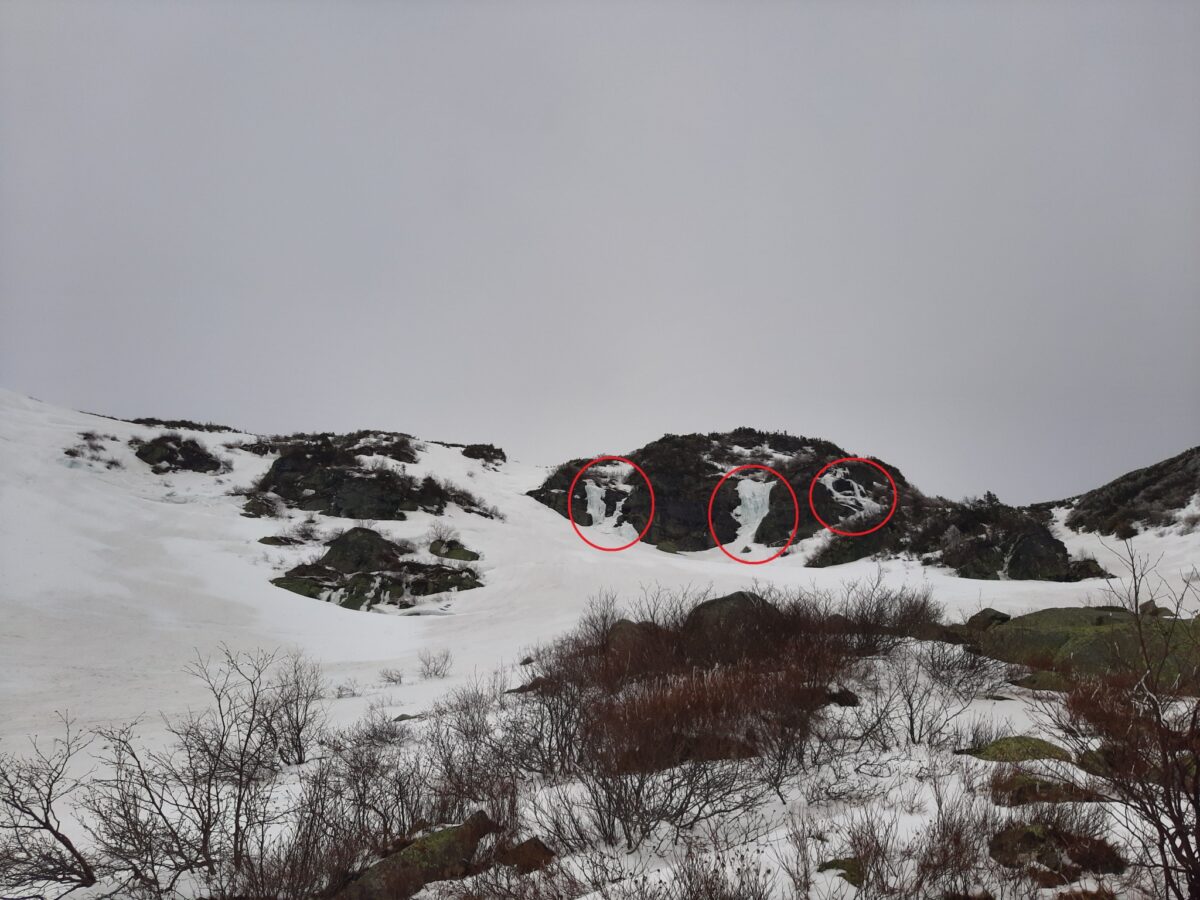
As the mountains experience numerous freeze/thaw cycles, melting ice, and water runoff from snowmelt; falling ice and falling rock are commonly associated phenomena. Sometimes falling pieces of rock and ice are the size of a golf ball and other times they are the size of a car or truck, weighing many tons and reaching speeds of over 60mph. In either case, this hazard is difficult to predict and can have deadly consequences for people traveling in the fall-line. “Lunch Rocks” happens to be one of the most dangerous places in Tuckerman Ravine in the spring due to exposure to icefall, however this hazard is possible anywhere where there are steep slopes with exposed ice or rocks overhead.
Examples:
How can this be identified and mitigated?
- Ice may appear blue or white and be vertical in steepness. Often cracks can be seen or heard with springtime warming.
- Periods of rapid warming and heavy rainfall are the most likely times for icefall and rockfall but releases are ultimately unpredictable.
- Minimize time spent underneath ice and on slopes where others are traveling above you on rock or ice.
- Wear a helmet in steep terrain.
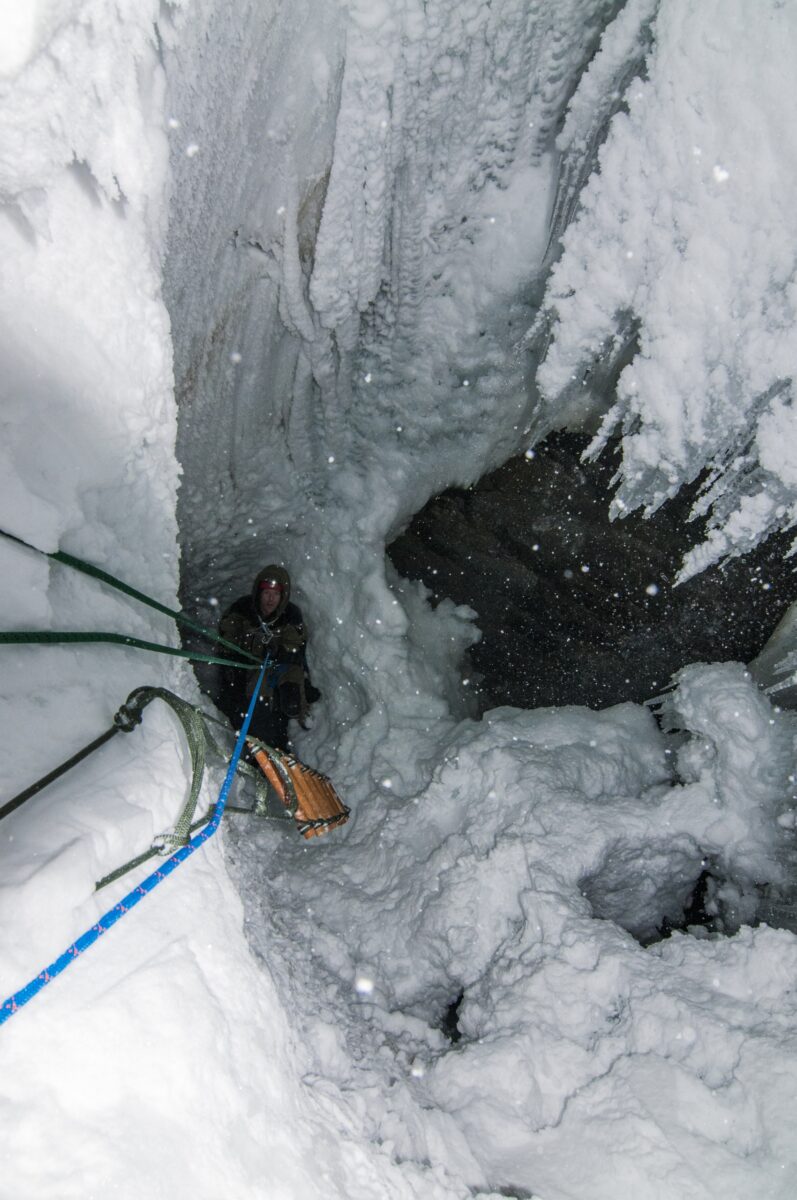
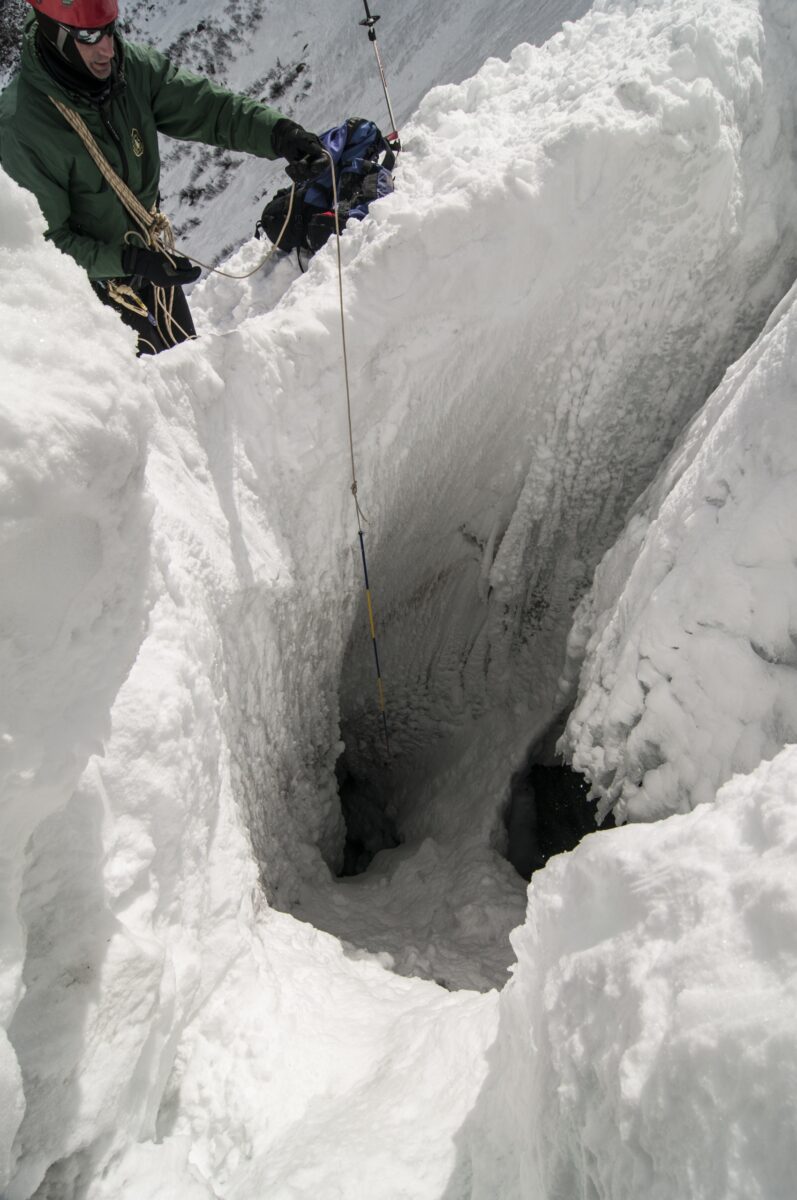
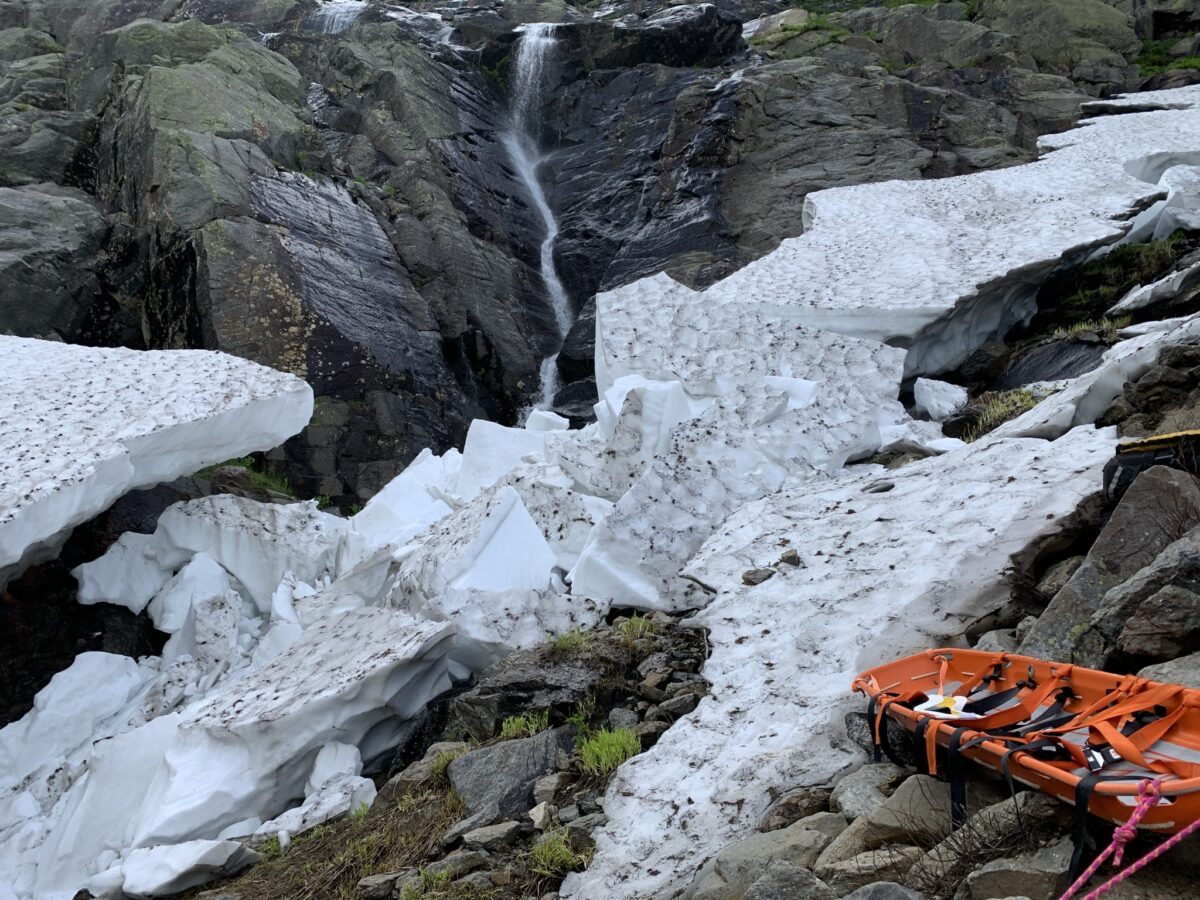
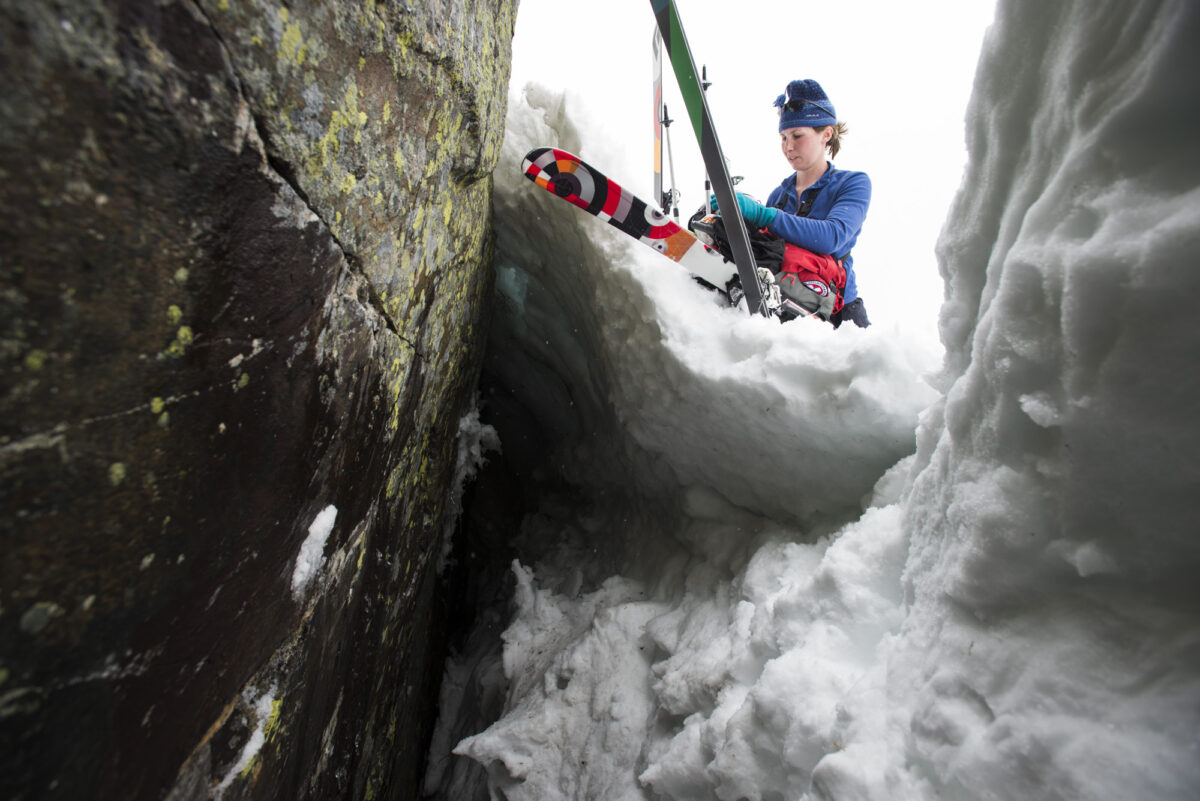
Glide Cracks / Snow Holes
As warm temperatures, rain, and water runoff continuously melt snow during spring, it is common for large and deep holes and cracks to form in the snowpack. There are a few mechanisms of formation including concentrated water runoff falling onto the snowpack, snow becoming undermined from water runoff below the snow surface, and from snowpack movement (also called creep) and separation. Sometimes, these cracks and holes are reminiscent of a crevasse, which are formations specific to glaciers. These openings in the snowpack can be very deep and large enough for a person to fall into. In most cases, these openings have no reasonable exit until the snow completely finishes melting. These features have been a factor in several accidents over the years such as these:
Examples:
Waterfall Hole Snowboarder Fall (person was uninjured)
Waterfall Hole Fatality Report
How can they be identified and mitigated?
- Glide cracks can be seen as horizontal lines in the snow pack from a distance. It is best to distance yourself from these features because the surrounding snow can be weak, undermined and connected to the same crack.
- Deep holes often appear as depressions in the snowpack from a distance. They are often found next to or below rock buttresses and boulders where water collects and melts snow from the surface.
- In the route planning process, it is important to identify where these could be found and to make sure there is a way to avoid them.
- Traveling above these features increases the consequences of a fall.
- Fresh unsupportive snow can mask the openings.
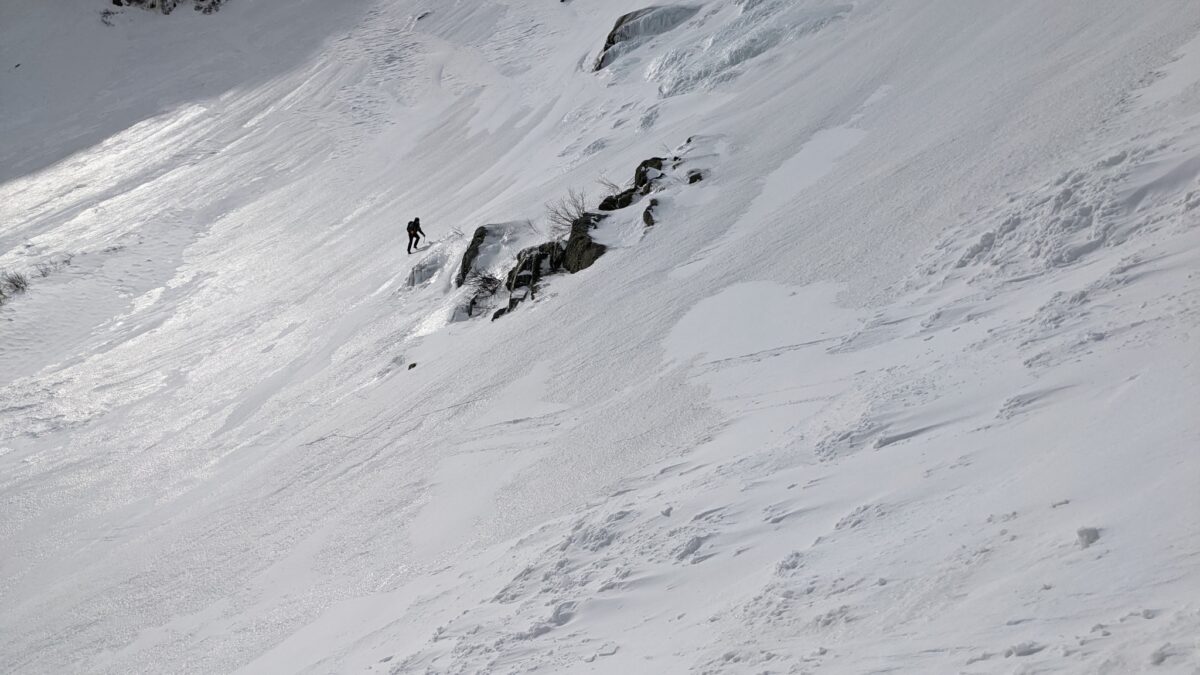
Refrozen Snow Surface
Spring snowpacks experience regular melt / freeze cycles, where dramatic temperature fluctuations affect the hardness of the snowpack as temperatures rise above and fall below the freezing mark. Intense sunshine can also have a similar effect on the snow surface, softening the snow when exposed to sun and then refreezing the snow when shaded. When in the refrozen state, the snow surface is very hard, icy, and slippery. In steep terrain, this poses a significant hazard to a climber, skier, or hiker since a fall can be impossible to stop or steer. High speed, long-sliding-falls are the contributing factor in many accidents and near-misses every year.
Examples:
Two skiers fall down Tuckerman
Long sliding fall on Hillman’s Highway
Long sliding fall in Chute, Tuckerman Ravine
How can this be identified and mitigated?
- This hazard can be identified in person by feeling and seeing the snow surface. Hard snow with little or no boot penetration and a shiny, reflective snow surface are sure signs of refrozen snow.
- Refrozen snow surfaces can be predicted by looking at temperature forecasts when checking the weather. They can also be predicted by evaluating length of sun exposure and recognizing when sunny aspects will become shaded.
- Specialized mountaineering equipment is needed to travel safely in these conditions. This gear includes, boot crampons, ice ax, ski crampons, and sometimes a rope system for added security.
- Be aware of the limitations of the mountaineering skill of “self-arresting” with an ice axe.
Resources:
- Mount Washington Observatory: Higher Summits Forecast ; Vertical Temperature Profile
- National Weather Service Mount Washington Point Forecast
- Caltopo Sun Exposure Feature

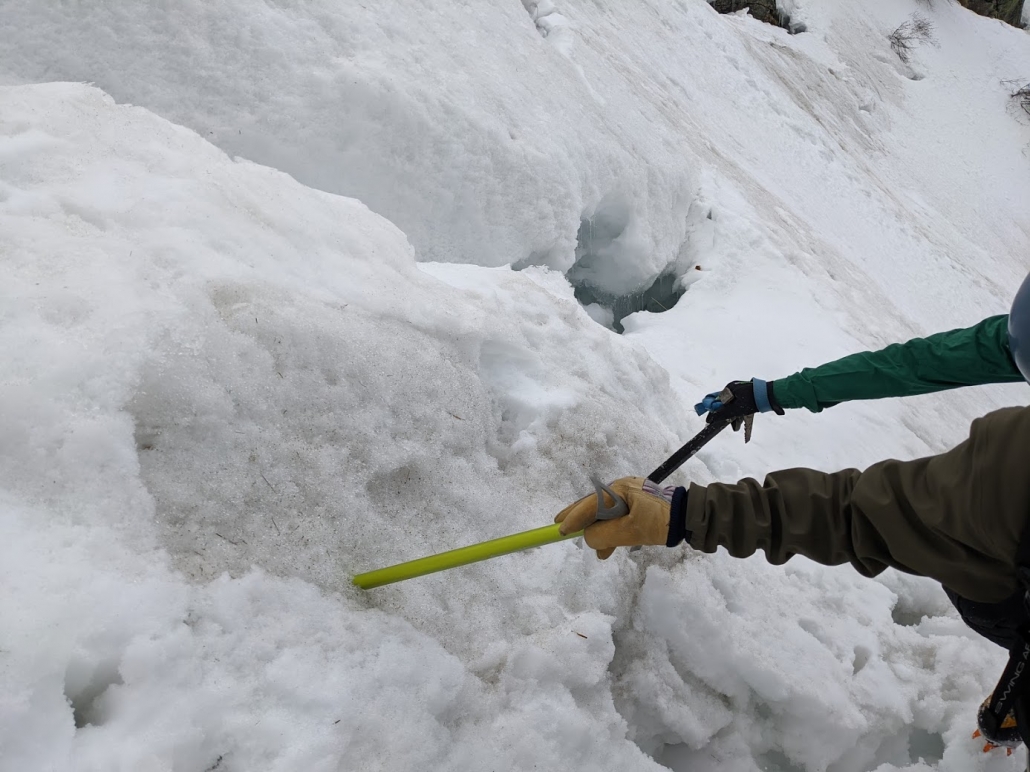
Undermined Snow
As water runoff increases during the spring season, it directly melts away adjacent snow. This increases the space for warm air to be introduced underneath the snow; which further contributes to the melting process, and over time, this undermines the snow. Sometimes snowpack collapses happen quickly, while other times a bridging effect occurs which can hold the suspended weight of the snow for a long period of time until the weight overcomes the strength of the bridge. This hazard commonly forms where rivers, small streams, or runoff areas exist.
Examples:
Undermined snow accident in Little Headwall
Undermined snow accident on Sherburne Ski Trail
How can this be identified and mitigated?
- Look, listen, and feel for this hazard. Sometimes undermined snow can be seen and sometimes it is invisible from the surface. Listen for running water underneath the snow as a sign of undermined snow. Use a probe or a pole to investigate depth and strength of the snow before committing to traveling on it.
- Give obvious or suspected areas of undermined snow a large margin.
- The time of failure is unpredictable. A snow bridge could collapse on the first boot track or the 500th boot track and these can even collapse spontaneously.
Wet Avalanches
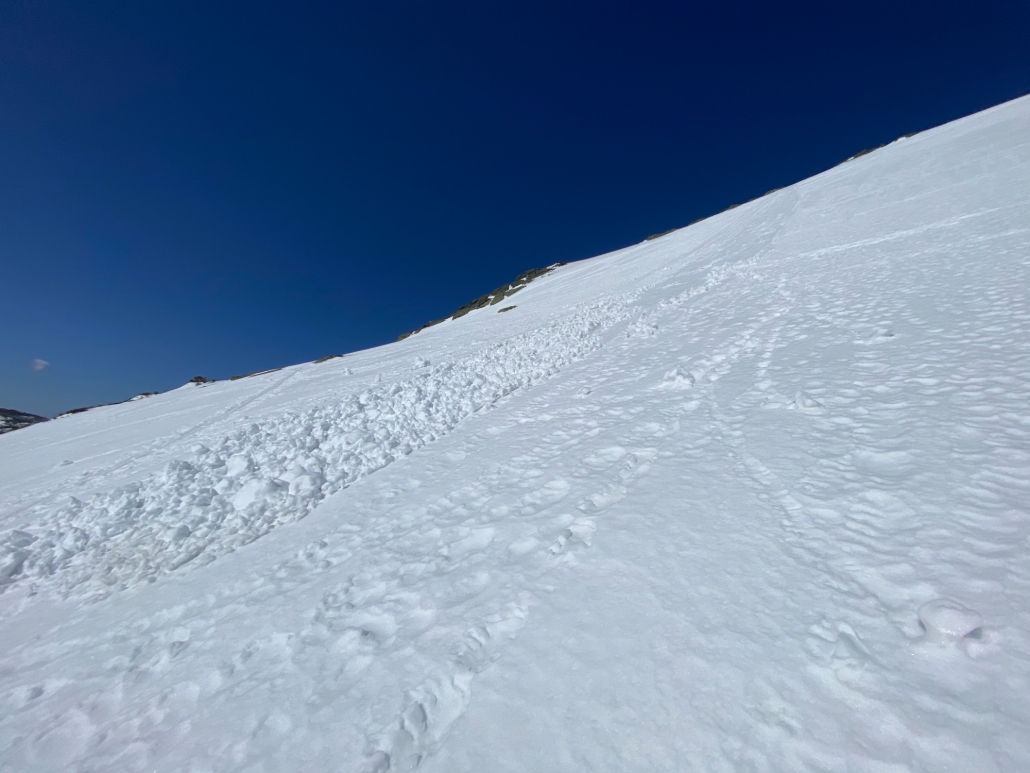
Wet avalanches occur because of free water decreasing the strength of the snow. They can occur in the form of a cohesive slab, or in the form of loose, saturated snow struggling to stick to the surface. Though these avalanches typically move slower than dry snow avalanches, the heavy weight of the saturated snow makes these slides very powerful and sometimes difficult to escape. As the spring progresses, regular loose wet avalanches and “sluffs” eat away at the snowpack and create deep runnels or trenches in the snowpack, adding an additional obstacle for skiers and climbers.
Examples:
Red Flags:
- Rain falling on snow (especially dry snow).
- Warming above freezing, especially the first warming of a previously dry snow.
- Loose wet avalanches indicate warming, destructive wet slab avalanches may be possible.
How can they be identified and mitigated?
- Read the avalanche forecast and general bulletin for updated information about when and where to expect these avalanches.
- Conduct snowpack assessments to investigate the presence or potential to encounter this avalanche problem. Look for melting snow, rain or strong solar radiation.
- Expect loose wet avalanches to have a lot of power when moving across your skis and try to avoid the main flow.